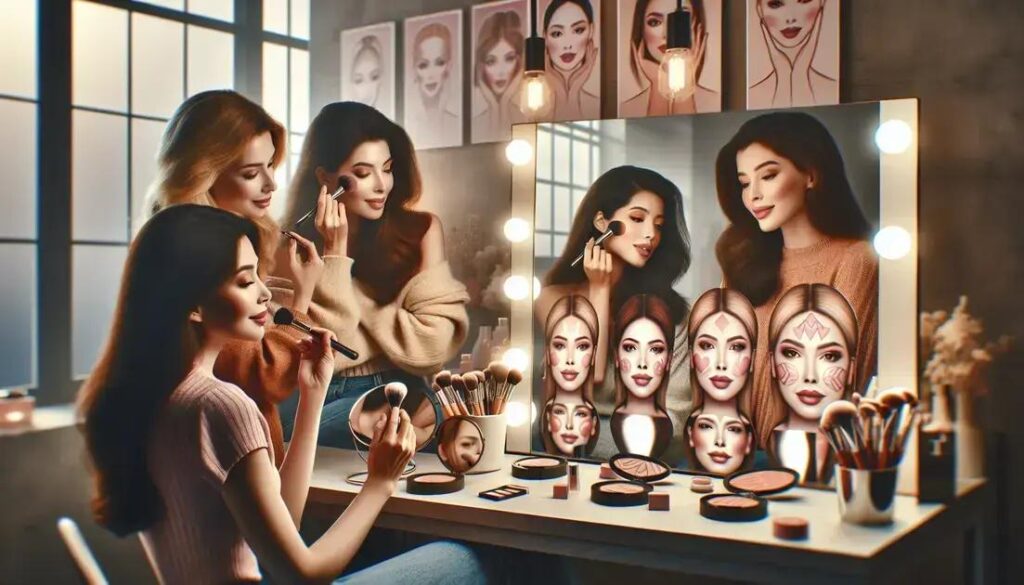
Hey there, beauty lovers! Ever found yourself staring at your blush brush, wondering, ‘Where should I place blush for my face shape?’ You’re not alone! Applying blush can be an art form, and knowing where to place it can totally transform your look. In this blog post, we’re diving deep into the world of blush placement tailored for different face shapes. Stick around, because by the end of this read, you’ll be armed with all the tips and tricks to enhance your natural beauty with just a few swipes of a brush. Whether you’re rocking a round, oval, square, or heart-shaped face, we’ve got the scoop on how to make that blush work for you. So, let’s get into it!
Blush is more than just a pop of color; it’s a way to accentuate your features and add a healthy glow to your complexion. But here’s the thing – the same technique doesn’t work for everyone. That’s why understanding your face shape is key. We’ll guide you step-by-step on where to apply blush to complement your unique features, ensuring you look your absolute best. Plus, we’ll sprinkle in some pro tips and product suggestions to help you get started. Ready to become a blush pro? Let’s go!
Understanding Your Face Shape
Before we dive into blush placement, it’s crucial to identify your face shape. This knowledge is the foundation of mastering makeup application. Generally, face shapes are categorized as round, oval, square, heart, and sometimes diamond. Each shape has unique characteristics that can be highlighted with the right blush technique.
To determine your face shape, stand in front of a mirror and pull your hair back. Observe the widest parts of your face, the shape of your jawline, and the length of your face. Is your face as wide as it is long? You might have a round face. Is your forehead wider than your jawline? You could have a heart-shaped face. Once you’ve identified your face shape, you’re ready to learn the best blush application techniques tailored just for you.
Blush Placement for Different Face Shapes
Round Face
If you have a round face, your cheeks are often the fullest part of your face. The goal with blush is to create an illusion of length, making your face appear more oval. To achieve this, apply blush slightly above the apples of your cheeks and blend it upwards towards your temples. This technique helps to elongate your face and add definition.
Oval Face
Oval faces are considered the most balanced and symmetrical, so you have a bit more flexibility with blush placement. A great technique is to apply blush to the apples of your cheeks and blend it back towards your ears. This will enhance your natural bone structure without overwhelming your features.
Square Face
For square faces, the aim is to soften the angles of your face. Apply blush on the apples of your cheeks and blend it towards your temples, but keep it more horizontal. This technique helps to round out the sharpness of your jawline and gives a softer appearance.
Heart-Shaped Face
Heart-shaped faces often have a wider forehead and a narrower chin. The goal is to balance these proportions. Apply blush just below the apples of your cheeks and blend upwards. This will help to soften the pointed chin and create a harmonious look.
Diamond Face
Diamond face shapes are characterized by a narrow forehead and chin with wider cheekbones. Apply blush to the top of the cheekbones and blend towards the ears. This helps to emphasize your cheekbones while balancing out the narrowness of your forehead and chin.
Pro Tips for Perfect Blush Application
- Always start with a small amount of product and build up. It’s easier to add more than to remove excess.
- Use a fluffy brush for a softer, more natural finish.
- Consider your skin tone when choosing a blush color. Warm tones suit peachy blushes, while cool tones look great with pinks.
- Blend, blend, blend! Seamless blending is key to a natural look.
- Don’t forget to set your blush with a light dusting of translucent powder to make it last all day.
Choosing the Right Blush for Your Skin Tone
When it comes to blush, the color you choose can make all the difference. Here’s a quick guide to help you pick the perfect shade based on your skin tone:
| Skin Tone | Recommended Blush Shades |
|---|---|
| Fair | Soft pinks, light peaches |
| Medium | Warm peaches, rosy pinks |
| Olive | Corals, warm bronzes |
| Dark | Deep reds, rich berries |
Top Blush Products to Try
Looking for some blush recommendations? Here are our top picks that cater to different budgets and preferences:
- NARS Blush in Orgasm – A cult favorite for its universally flattering peachy-pink shade with a hint of shimmer.
- Milani Baked Blush in Luminoso – An affordable option with a beautiful coral hue that adds a natural glow.
- Fenty Beauty Cheeks Out Freestyle Cream Blush – Perfect for those who love a dewy finish.
- Glossier Cloud Paint – A gel-cream formula that’s easy to blend and build.
- MAC Powder Blush – Available in a wide range of shades and finishes.
Frequently Asked Questions
How do I know my face shape?
Look at the proportions of your face in a mirror. Consider the width of your forehead, cheekbones, and jawline.
Can I use the same blush technique for different occasions?
Absolutely! You can adjust the intensity and placement depending on the occasion, but the basic technique for your face shape remains the same.
Is cream blush better than powder blush?
It depends on your skin type and preference. Cream blushes are great for dry skin and a dewy finish, while powder blushes are ideal for oily skin and a matte look.
How do I make my blush last longer?
Set your blush with a translucent powder and consider using a setting spray for extra longevity.
Can I mix blush colors?
Yes, mixing colors can create a custom shade that perfectly suits your skin tone and the look you’re going for.
And there you have it! Now you’re ready to master the art of blush application tailored to your unique face shape. Remember, makeup is all about enhancing your natural beauty, so have fun experimenting with different techniques and products. If you found this guide helpful, why not share it with a friend who might also benefit from these tips? And don’t forget to check out our other beauty posts for more makeup inspiration!


